| Page Contents Current As of Patch: | 2017-07-12 |
Overview
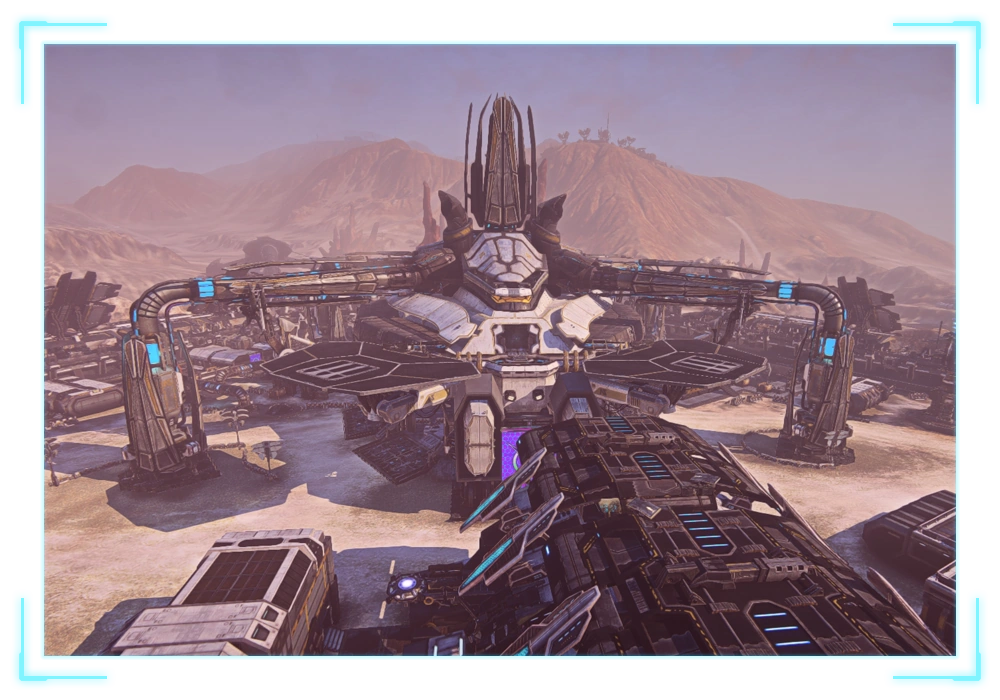
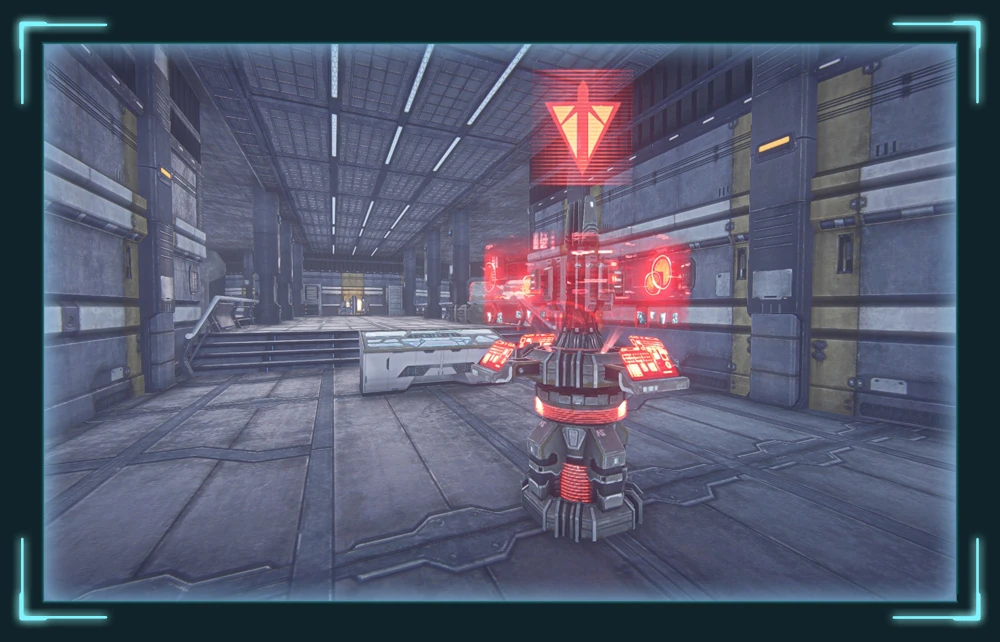
Amp Stations are major facilities found on all the continents of Auraxis. Each are a sprawling complex of buildings, with a variety of lay-outs and surrounding outposts, encompassing either a single Control Point encased within a central building, locked tight with shielding, or three Control Points spread throughout the courtyard, each linked to an underground spawn room available to the faction that owns the Control Point. Within the central buildings of all single-point Amp Stations is a shielded Spawn Control Unit (SCU), which powers the primary Spawn Room available to the Amp Station's defenders. For Amp Stations with several control points (such as Sungrey), there is no SCU.
Owning an Amp Station causes stationary Phalanx Turrets in all facilities linked by Lattice to the Amp Station to automatically repair over time.
Indar
Esamir
Amerish
Hossin
Base Capture
To begin capture of an Amp Station, the attacking faction must have a secure link to the facility using the Lattice Link system. Once they have established a link, the attackers can begin the assault.
Using Gate Shield Diffusers, it is possible to immediately begin to capture the control points of single-point Amp Stations, however it is highly recommended to instead take down the Vertical and Horizontal generators first. Once the capture progress is half-way in the attacker's favour, the SCU will become vulnerable to attack, as the shield will fall. This is the attacker's crucial moment to secure the facility.
For multi-point Amp Stations, it is vital that the attackers secure a control point as soon as possible, to ensure they have a secure spawn location. Unlike single-point Amp Stations, the attackers must capture and hold more than one control point at a time to begin capture progress. This gives the defenders a notable advantage, as they can greatly slow the attacker's progress by simply holding one control point, as the attackers must hold all three to capture at maximum efficiency.
For further reading, see Base Capture Mechanics.
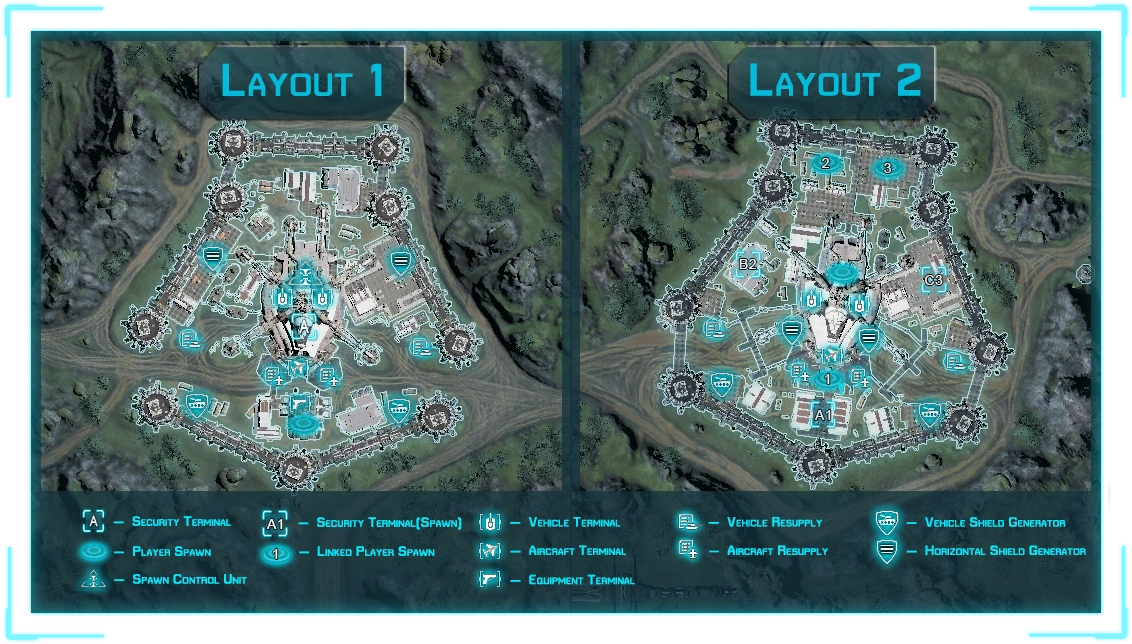
Base Layout
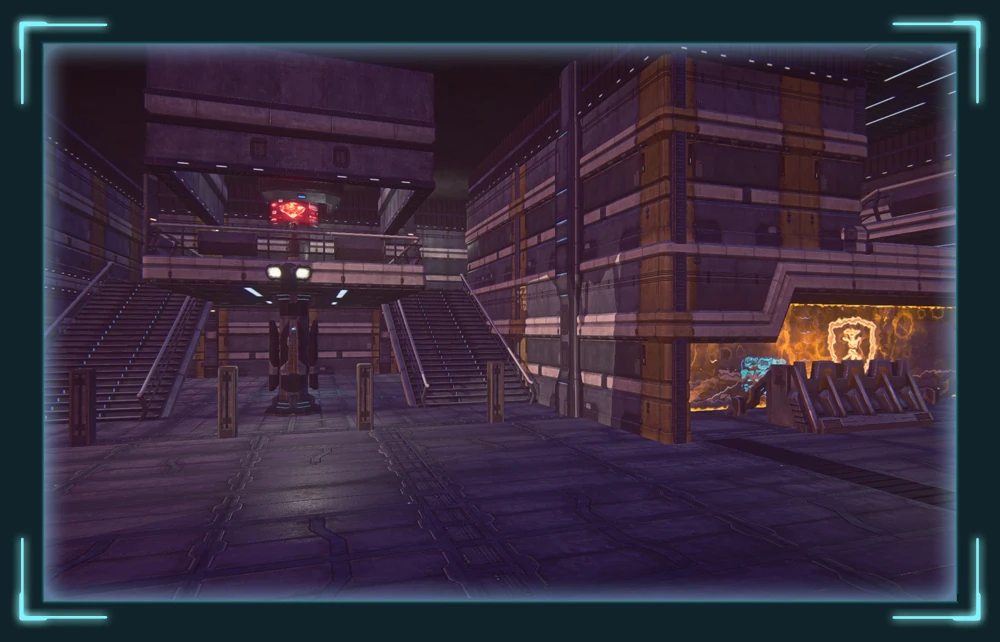
The central structure of the Amp Station is common to all facilities of this type. Contained within are two Vehicle Terminals and a shielded lower room containing either the defenders spawn room, or the SCU. Atop the structure are two Air Vehicle Resupply Pads and a single Air Terminal. There is a balcony across the central-interior of the structure and, if the Amp Station contains only a single control point, this is where the Security Terminal is located. Though not always in the same location, the interior also has a shielded grav-lift, which leads up to the top of the building.
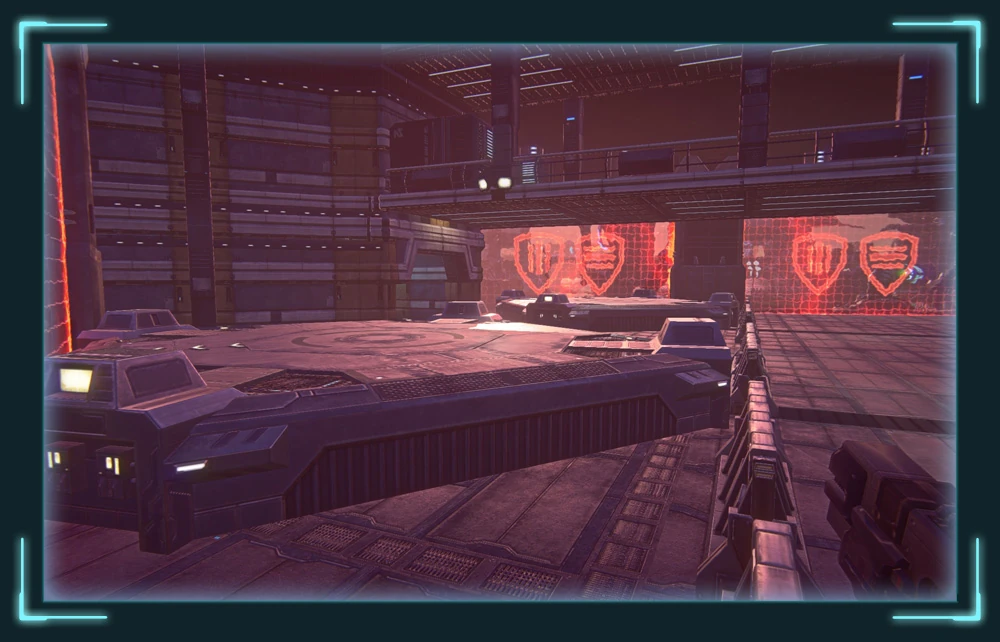
Contained within the walls of the Amp Station is the Courtyard, a sprawling complex containing a large variety of structures, generators other utilities. The design varies greatly depending on the number of control points contained within the Amp Station.
If the Amp Station is a single-point facility, there is a large, shielded building to the rear of the central structure that functions as the defender's spawn room. So long as the SCU is alive, this spawn room is completely impenetrable, and provides defenders with tunnels to reach various key locations around the facility.
When the Amp Station has three control points, the amount of cover located around the courtyard is vastly increased, and there are three focal points containing control points: two large buildings with a platform between them on which the Security Terminal is found, a long building pressed against a wall containing a Security Terminal, and a Courtyard Building with a Security Terminal on the first floor. Controlling one of these security terminals will provide your faction with a shielded spawn room connected to two tunnels, regardless of whether or not you are attacking or defending the facility.
Upon the walls are numerous Phalanx Turrets, of both the anti-vehicle and anti-air variety. Located both along the ramparts and on the towers that punctuate them, the walls are a heavily armed utility the defenders can use to great effect.
Offensive Strategy
Basic Notes
Due to the size of the facility, the Amp Station is accessible from various angles, and is also largely exposed to the air. Use this to your advantage, and attempt to mount a multi-fronted assault on the Amp Station to split the defender's numbers.
You can breach the walls of the Amp Station in a variety of ways. The easiest is to climb the wall, either by cleverly jumping up the various outcroppings, or using a Light Assault. The more effective method is to send infantry strike teams to secure and disable the Vehicle Shield generators that power the barriers around the walls. This will allow you to insert Sunderers and other vehicles directly into the Courtyard and force the defenders to retreat.
If you are attacking a multi-point Amp Station, make an effort to focus your defensive power on a single control point, whilst sending comparatively smaller squads to assault the remaining two, as the spawn rooms linked to a control point are invaluable for maintaining an attack where Sunderers remain vulnerable.
When attacking a single-point Amp Station, speed is of the essence. The faster you can disable the Vertical and Horizontal shield generators, the more likely you will be to successfully control the base. Once those generators are down, send Infiltrators into the main building to hack the vehicle terminals, and spawn Sunderers within the actual building itself. Though they cannot deploy, members of the Sunderer driver's squad can spawn directly into the vehicle, and the truck's Guns are nothing to be dismissed either.
It is also important to make ample use of the Amp Station's surrounding outposts, which provide a vehicle terminal. These outposts are very close to the Amp Station, allowing you to reinforce your attack within moments, bringing in new Sunderers, or bolstering your armor columns.
Infantry Composition
Amp Stations contain an immense amount of cover and buildings compared to any other bases that can be found on Auraxis. Light Assaults and Infiltrators can use this to immense effect. By fighting in the vertical, they can keep themselves hidden whilst taking out Combat Medics, Engineers, Heavy Assaults and MAXes who have no hope of fighting back.
Controlling the walls is also vitally important for assaulting the generators. The defenders will often have tunnels allowing them to safely get onto the walls, so it is crucial that attackers have infantry watching these entrances, ready to pick off defenders who are trying to flank the generators and control points. If the attackers lose control of the walls, the defenders will be able to easily prevent them from reinforcing key points, which will allow the defense instead to secure them, setting the assault back a large amount.
Due to the close-quarters nature of the ground battle within the Amp Station, MAXes can be extremely helpful for securing buildings containing generators and security terminals, as infantry will often be within the combat suit's effective range. And, due to the nature of the fight as an extended endurance tournament, Heavy Assaults will be vital for holding areas without draining the attacker's Nanites.
Ground Vehicle
Once the attacking Infantry have disabled the Vehicle Shield generators, the Courtyard will be open to armor. Depending on the layout of the base, however, this can prove to be more dangerous for the vehicles than it is worth. Aside from Sunderers, ground vehicles are extremely vulnerable to C-4, and the heavily vertical design of the Amp Station makes it incredibly easy for Light Assaults to gain elevation above armor, and drop C-4 upon their unsuspecting crews. Instead, use the open areas just past the now-deactivated Vehicle Shield gates as an area of safety, whilst using splash damage to support infantry within buildings.
Air Vehicle
Ground strike from aerial vehicles can be useful in Amp Stations, however it can prove risky for aircraft to attempt to assault ground forces at the start of the attack. Due to the large amount of Aspis Phalanx Turrets, aircraft can be quickly torn apart by Flak whilst the defenders still control the walls. Aircraft should instead be held off until the walls have already been secured, then aid ground troops in keeping the generators secure whilst they overload, or preventing the defenders from recapturing control points.
Defensive Strategy
Basic Strategy
Amp Stations are amongst the most defensible bases on Auraxis. With nooks and crannies throughout the base for anti-personnel mines, to the numerous Phalanx Turrets upon the walls, the defenders are well-set to make any attacks upon these facilities a hard fight.
It is crucial to prevent attackers from bringing Sunderers into the walls. If any are found, destroying them is the top priority. The further the attackers have to fight to reach generators and control points, the easier your defense will be. It is also vital to ensure your anti-air Phalanx turrets, at the bare minimum, are attended to. Without them, the walls will begin to act as a cage, rather than protection from attack, and aircraft will be able to easily mop up your defenses.
Finally, ensure the central building is well defended. It is your only safe bastion and, in some cases, the location of the control point. Set up Tank Mines to prevent enemies using Gate Shield Diffusers from entering the building.
Infantry Composition
With the benefit of being able to use the internal grav-lifts, the defenders are more well-set to use the vertical advantage in the Amp Station. Get Infiltrators with Sniper Rifles up on the roof to pick off defenders, and make ample use of your ability to easily reach any point within the Amp Station using the roof.
You also have access to the tunnels beneath the Amp Station, leading you to key points around the facility. These will be your greatest asset, and will allow organised groups to quickly clear any areas where it is needed. When a tunnel exit is compromised, use MAXes to clear the exit before your weaker infantry take the grav-lift to the surface.
Remember that you will have the element of surprise upon attackers, so use anti-personnel mines, tank mines, and other such weaponry to great effect to hamper their advance.
Ground Vehicle
Unlike the attackers, you have no no-deploy zones to worry about. Use this to your advantage and set up Sunderers throughout the Courtyard, and within the central building, to allow you to quickly reinforce key objectives.
Inside the base, there is hardly any room for vehicles to move, especially those of the defenders, so get outside the walls and begin to harass enemy armor and Sunderers located outside. You can also prevent the enemy from bringing in new Sunderers which, in a single-point Amp Station especially, are vital to their victory and your defeat.
Air Vehicle
As you control the anti-aircraft guns, you can use your own Aircraft with impunity. Make use of the cage-like walls to decimate attackers as they attempt to assault key locations, and try to take out enemy Sunderers, or at least spot them for your ground forces. You can also use the Air Resupply Pad to quickly regain ammo, allowing you to sustain your assault.
Media
")
")
")
")